

How to Install Architectural Shingles (8 Steps)
Are you considering upgrading your home’s roof with architectural shingles?
Look no further! In this comprehensive guide, we’ll walk you through the step-by-step process of installing architectural shingles on your roof.
Whether you’re a seasoned DIY enthusiast or tackling a roofing project for the first time, we’ve got you covered with expert tips, practical advice, and everything you need to know to achieve professional results. Installing roof shingles can be a rewarding project, but it’s important to know when to seek professional help.
Laminated or dimensional shingles, also known as architectural asphalt shingles, consist of multiple layers that enhance both aesthetic appeal and durability.
Inside this blog:
- How to adequately prepare for an architectural shingles installation
- 8 essential steps for installing architectural shingles in a true DIY fashion
- Benefits of architectural shingles
Keep reading to learn more about how you can install architectural shingles like a real pro!
Getting Started: Preparing for Installation

Before you dive into installing architectural shingles, it’s essential to prepare your roof and gather the necessary roofing materials and supplies. Here’s what you’ll need to do to get started:
Inspect Your Roof
Before starting the your project to install new architectural shingles, you should always begin with a thorough roof inspection. Pay special attention to the quality (and the quality of installation of your existing roof shingles) to make sure that you’re working with a solid foundation for your new roof replacement.
If your roofing system isn’t sound, then you may have to tackle the deeper issues before committing to a new roof installation with the architectural shingles of your choice. Addressing leaks, rot, or structural damage beforehand will ensure a smooth installation process and a long-lasting roof.
Gather Your Roofing Materials
Before you begin your roof replacement project, it’s essential to have all of the necessary roofing materials and tools on hand before you begin. From the bundles of architectural shingles to the proper safety gear, being organized can streamline the installation process and minimize interruptions.
Don’t forget to include starter shingles, as they provide a secure foundation for subsequent shingles and are effective in preventing wind uplift.
Prepare the Surface
Cleaning the roof surface is crucial for proper adhesion and durability of the new shingles. Remove any debris, dirt, or old roofing material, and inspect the roof deck for any signs of damage. Repairing damaged areas before laying the underlayment will ensure a stable foundation for the new roof.
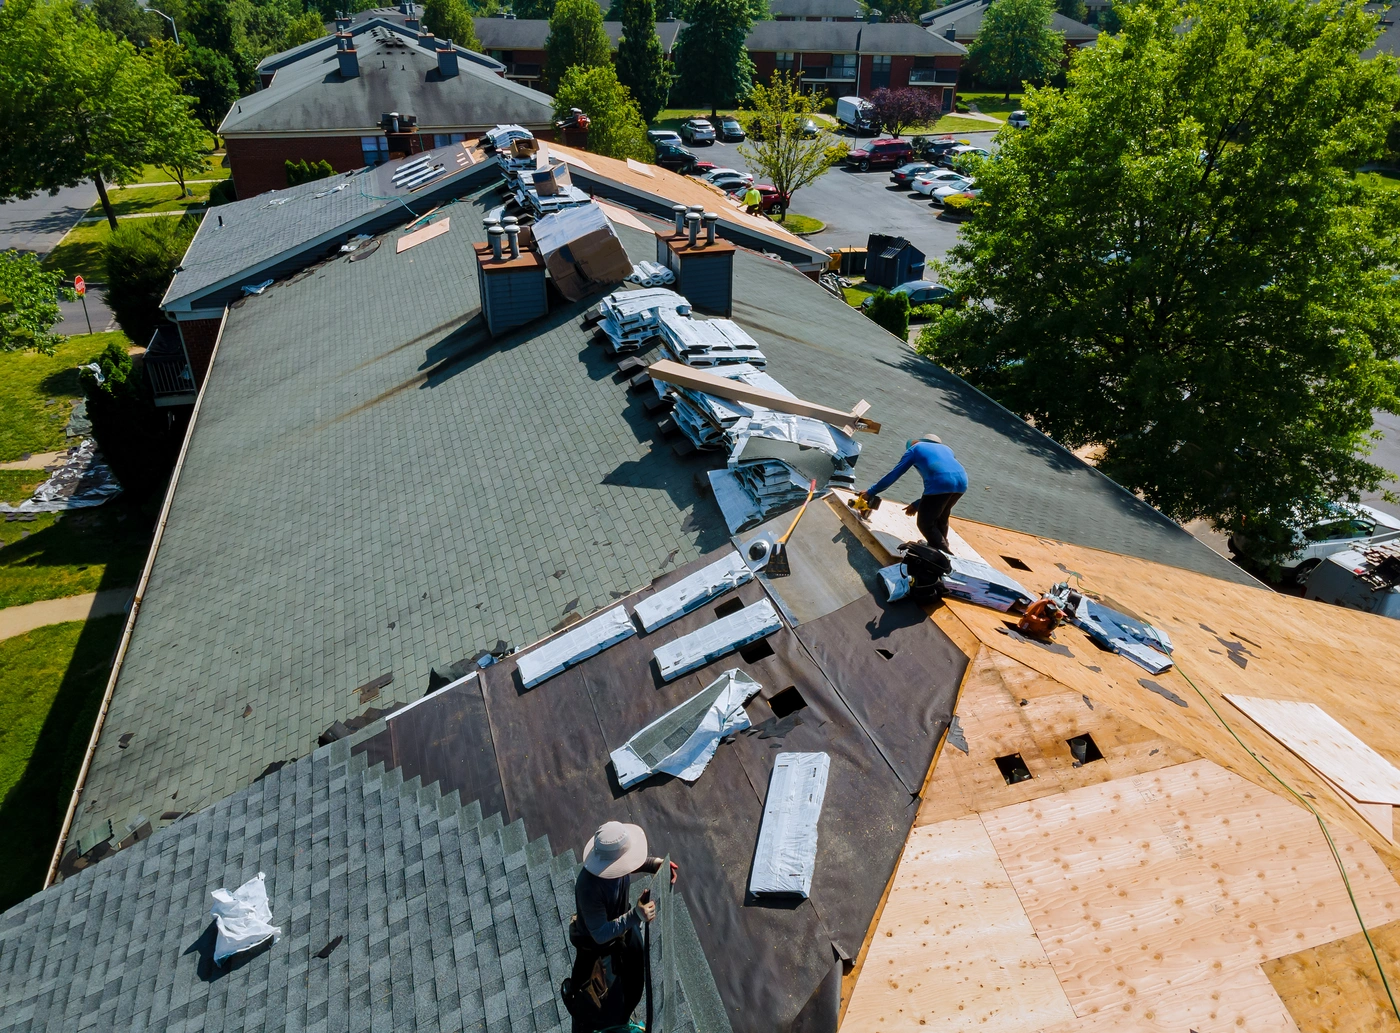
Preparing the Roof Deck
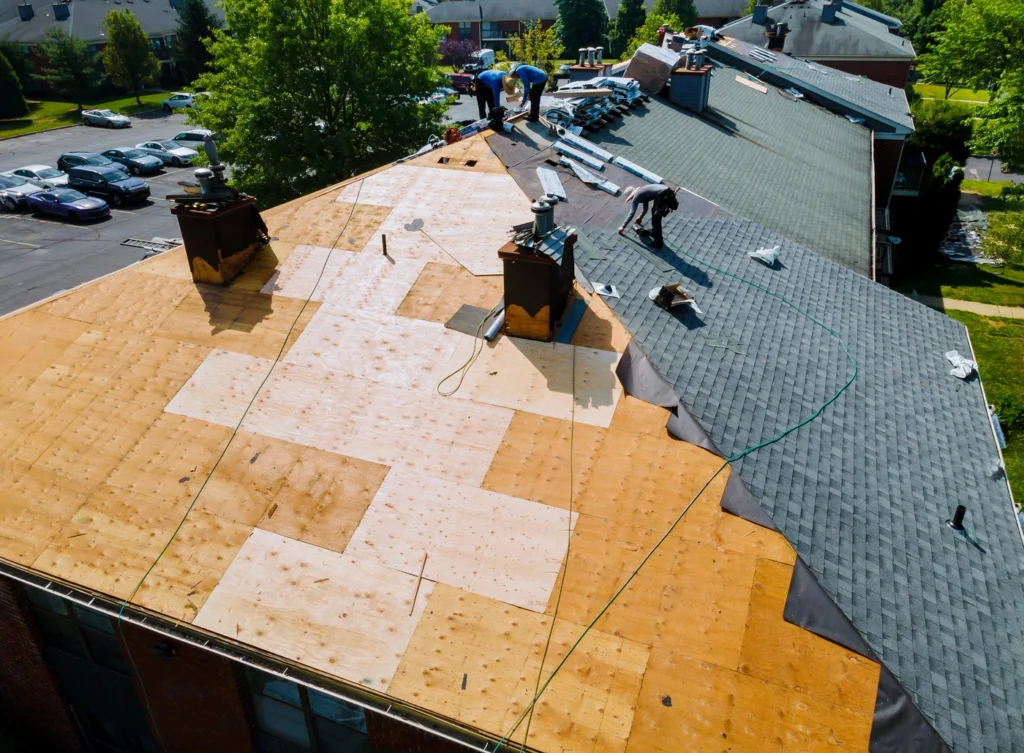
Preparing the roof deck is a crucial step in installing architectural shingles. The roof deck is the surface that the shingles will be installed on, and it must be clean, dry, and free of debris. Here are some steps to follow when preparing the roof deck:
- Remove the Old Roofing Material: Before installing new architectural shingles, it’s essential to remove the old roofing material. This will ensure a clean and smooth surface for the new shingles.
- Inspect the Roof Deck: Inspect the roof deck for any damage or rot. If you find any damaged areas, repair them before proceeding with the installation.
- Clean the Roof Deck: Clean the roof deck thoroughly to remove any dirt, debris, or old roofing material. Use a broom or a pressure washer to clean the surface.
- Check for Proper Ventilation: Proper ventilation is crucial to prevent moisture buildup and prolong the lifespan of the shingles. Check if the roof has adequate ventilation, and install additional vents if necessary.
- Apply a Layer of Roofing Felt: Apply a layer of roofing felt to the roof deck to provide an additional layer of protection against moisture.
Step-by-Step Guide to Installing Architectural Roof Shingles
Now that you’ve prepared your roof and gathered your materials, it’s time to install roof shingles. Follow these 8 steps for a successful installation:
1. Install the Underlayment
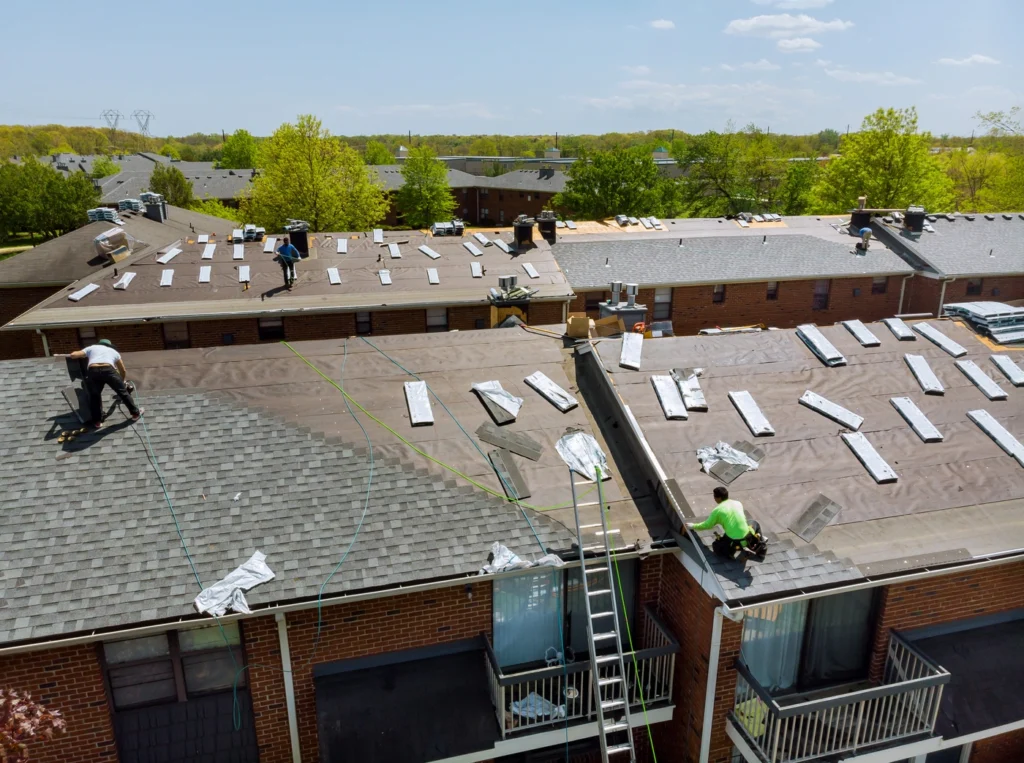
Begin by laying down a layer of underlayment over the entire roof surface. The underlayment acts as a secondary barrier against water infiltration and helps protect the roof deck from moisture, ensuring long-term durability and resilience against the elements.
2. Start at the Bottom
Begin installing the architectural asphalt shingles at the bottom edge of the roof, aligning them with the edge and allowing for overhang as specified by the manufacturer. Starting at the bottom ensures proper water drainage and creates a solid foundation for the rest of the installation process.
3. Apply the Starter Strip
Install the starter shingles along the eaves of the roof, ensuring that they are level and securely attached. The starter shingles provides a solid foundation for the first row of shingles and helps prevent wind uplift, safeguarding your roof against potential damage during storms.
4. Layer the Architectural Shingles
Working from the bottom to the top, lay the shingles in overlapping rows, following the manufacturer’s instructions for proper alignment and spacing. Use roofing nails to secure the shingles in place, placing them in the designated nail line on each shingle to ensure maximum stability and wind resistance.
5. Nailing Techniques for Your Roof
Nailing is a critical step in shingle installation. Here are some tips to follow when nailing architectural shingles:
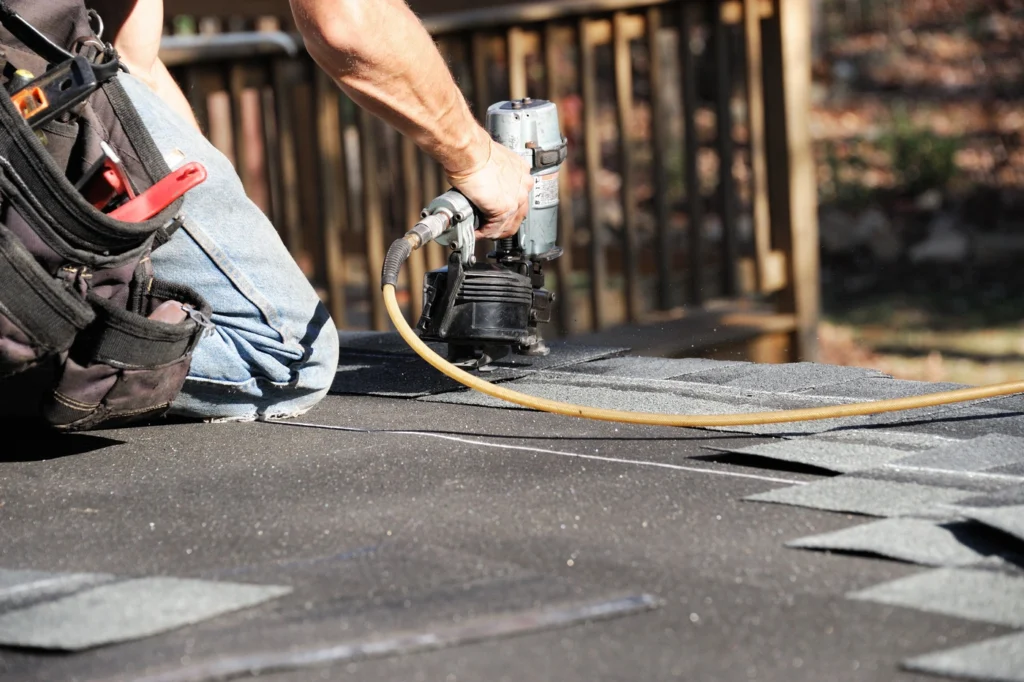
- Use the Correct Type and Size of Nails: Use roofing nails that are specifically designed for architectural shingles. The nails should be long enough to penetrate the roof deck but not so long that they protrude through the other side.
- Space Nails 1 Inch Apart: Space the nails 1 inch apart to ensure that the shingles are securely fastened to the roof deck.
- Ensure That Nails Are Driven at an Angle: Drive the nails at an angle to ensure that they are securely fastened to the roof deck.
- Use a Nail Gun or Hammer: Use a nail gun or hammer to secure the shingles. A nail gun is faster and more efficient, but a hammer can be used for more precise control.
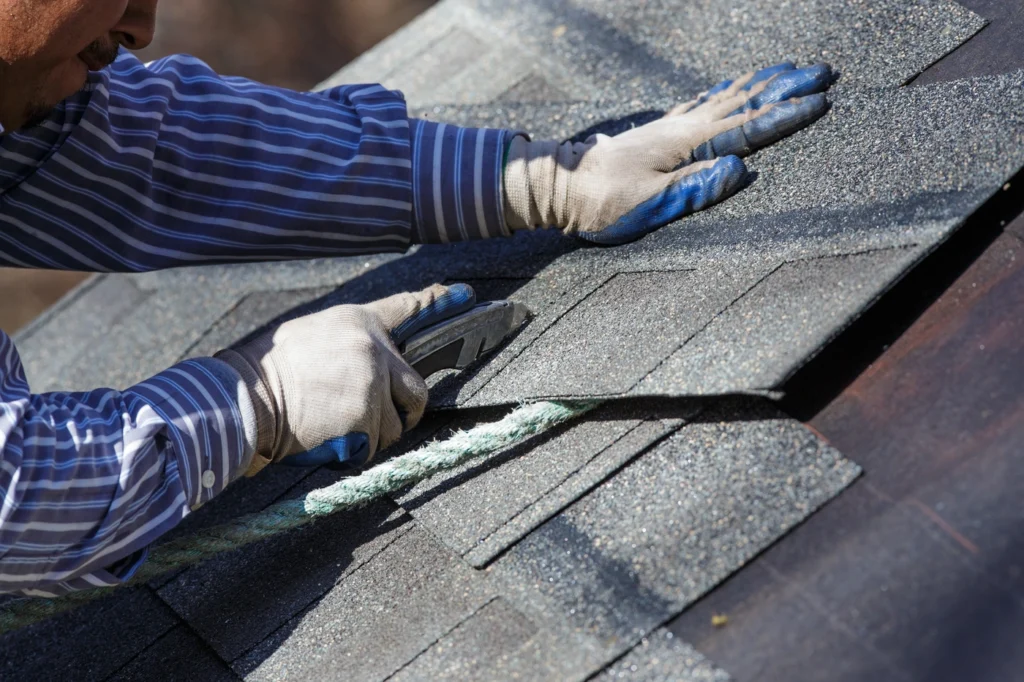
6. Cut and Trim
As you work your way up the roof, you may need to cut and trim the shingles to fit around vents, chimneys, and other roof penetrations. Use a utility knife to make precise cuts and ensure a snug fit, maintaining the integrity of the roof and preventing potential leaks or damage.
7. Install Ridge Caps
Once you’ve installed the shingles on the main roof area, it’s time to install ridge caps along the peak of the roof. Ridge caps provide added protection and a finished look to the roof, ensuring that all vulnerable areas are properly sealed and reinforced against moisture and debris.
8. Inspect and Clean Up
After completing the installation, inspect the roof to ensure that all shingles are securely fastened and properly aligned. Clean up any debris or leftover materials from the installation site to leave your roof looking clean and tidy, ensuring a professional finish and enhancing the overall appearance of your home.
9. Keep Your Safety Throughout The Installation
Throughout the installation process for your new roof, prioritize safety by wearing appropriate protective gear, such as gloves, safety glasses, and non-slip footwear. Use caution when working at heights and follow all safety guidelines outlined by the manufacturer to minimize the risk of accidents or injuries. If you ever feel hesitant about climbing up on your roof and attempting a major DIY project, you should also consult a professional roofing contractor.
Tips for a Successful Installation
Here are some tips for a successful architectural shingle installation:
- Follow the Manufacturer’s Instructions: Follow the manufacturer’s instructions for installing architectural shingles. The instructions will provide specific guidance on the installation process.
- Use High-Quality Materials: Use high-quality materials, including architectural shingles, roofing felt, and roofing nails.
- Ensure Proper Ventilation: Ensure that the roof has adequate ventilation to prevent moisture buildup and prolong the lifespan of the shingles.
- Install a Drip Edge: Install a drip edge around the perimeter of the roof to prevent water from seeping under the shingles.
- Use Roofing Cement: Use roofing cement to seal the shingles and prevent water from seeping under the shingles.
- Install Ridge Cap Shingles: Install ridge cap shingles along the peak of the roof to provide an additional layer of protection against moisture.
- Inspect the Roof Regularly: Inspect the roof regularly to ensure that the shingles are securely fastened and that there are no signs of damage or wear.
Benefits of Architectural Shingles
An architectural asphalt shingle roof offers numerous benefits for homeowners, including:
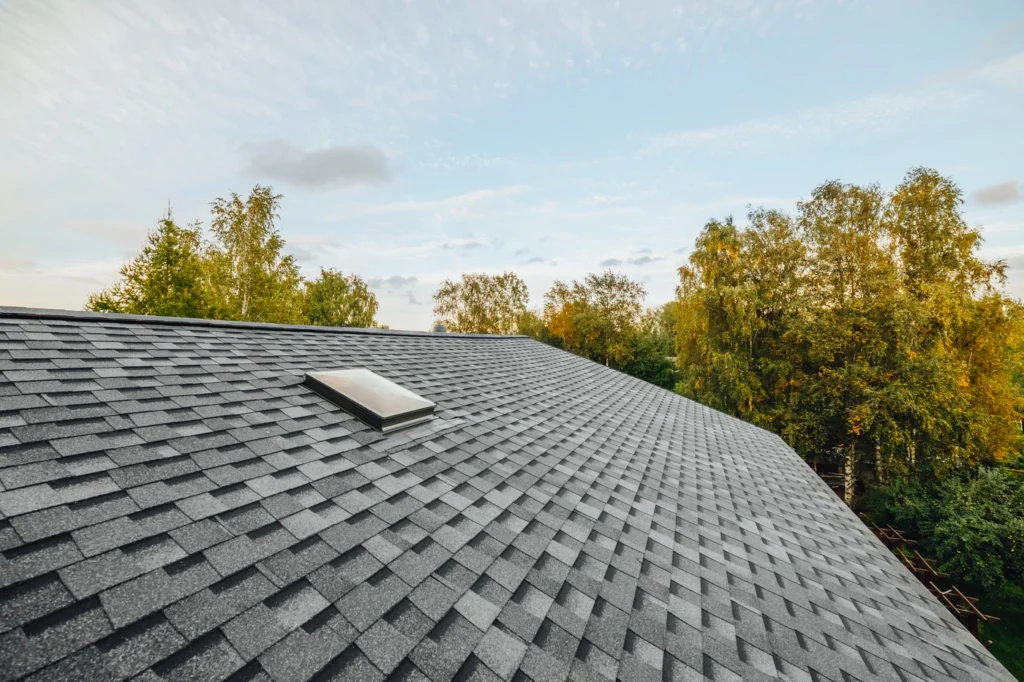
Enhanced Aesthetics
Architectural shingles offer homeowners a wide array of options to enhance the curb appeal of their homes. Whether you prefer a classic slate look or a modern dimensional style, there’s an architectural shingle to match your aesthetic vision and elevate the appearance of your roof.
Increased Durability
Laminated or dimensional shingles, also known as architectural shingles, are built to withstand the elements better than traditional shingles thanks to their multi-layered design and heavier weight. Their enhanced durability makes them more resistant to wind uplift, rain penetration, and impact damage, providing long-term protection for your home.
Longer Lifespan
Architectural shingles are renowned for their longevity, often outlasting traditional three-tab shingles by several years. With proper installation and maintenance, architectural shingles can last up to 30 years or more, offering homeowners peace of mind and fewer roof replacements over time.
Improved Energy Efficiency
Some architectural shingles are engineered with innovative features like reflective coatings, which help reduce heat absorption and keep your home cooler in the summer. By minimizing heat transfer through the roof, these shingles can contribute to lower energy bills and create a more comfortable indoor environment throughout the year.
Upgrade Your Home With Architectural Shingles
Installing architectural shingles is a rewarding DIY project or new roof installation project by a qualified contractor. This roof that can enhance the appearance and durability of your home’s roof. By following these steps and taking the necessary precautions, you can achieve professional-looking results and enjoy the benefits of architectural shingles for years to come.
Get in touch with our roofing experts at Kraft Roofing and experience top quality workmanship and unbeatable customer service.
We can’t wait to hear your questions about the roof that hangs over your hom’s head. Let’s get the ball rolling on your next roofing project today!
Recent Articles POSTS


Work With the Team That’s Dedicated to Your Wins
