

How to Install Ridge Cap Shingles: Explained in 7 Easy Steps
Ridge cap shingles play a critical role in protecting your roof’s peak and ensuring your home stays weatherproof. If you’re wondering how to install ridge cap shingles, this blog post breaks it down into seven easy-to-follow steps. Perfect for homeowners tackling a roofing project or wanting to understand the process better, this guide walks you through what to expect. Here’s what we’ll cover:
- Why ridge cap shingles are essential
- How to install ridge cap shingles in 7 simple steps
- Common mistakes to avoid
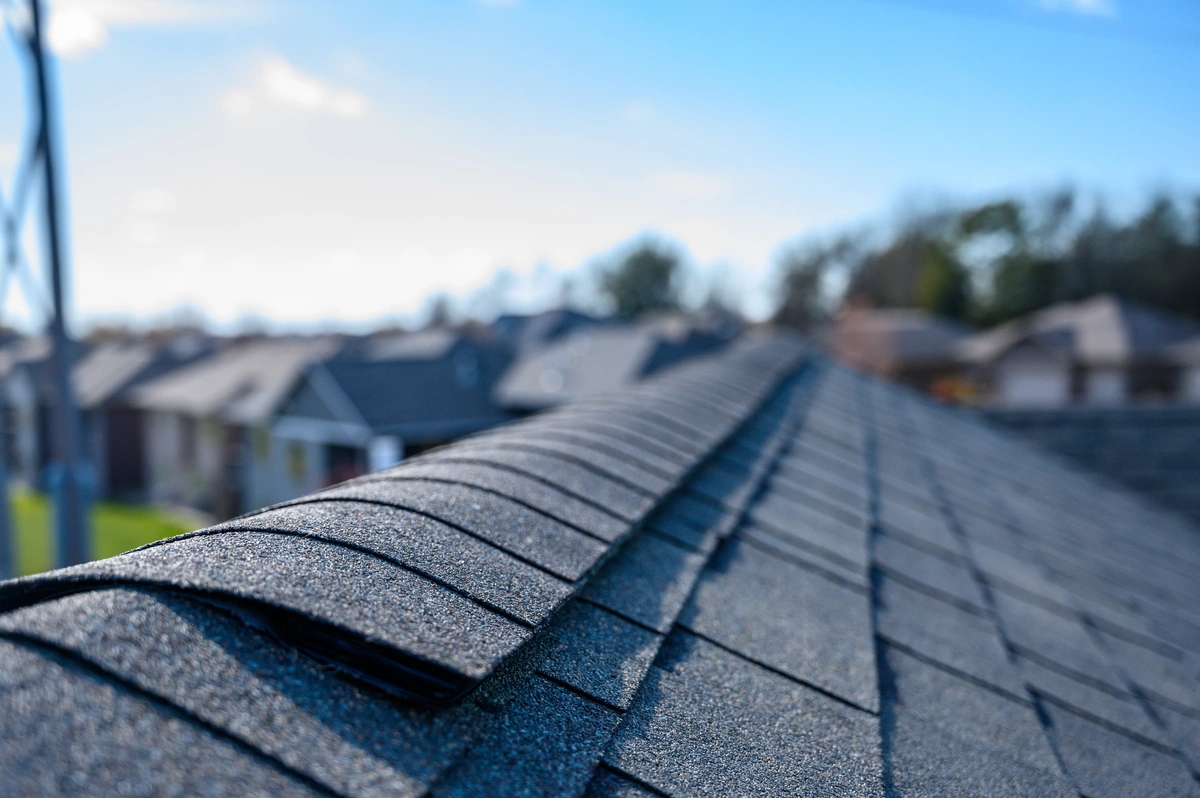
🤔 Why Ridge Cap Shingles Are Essential
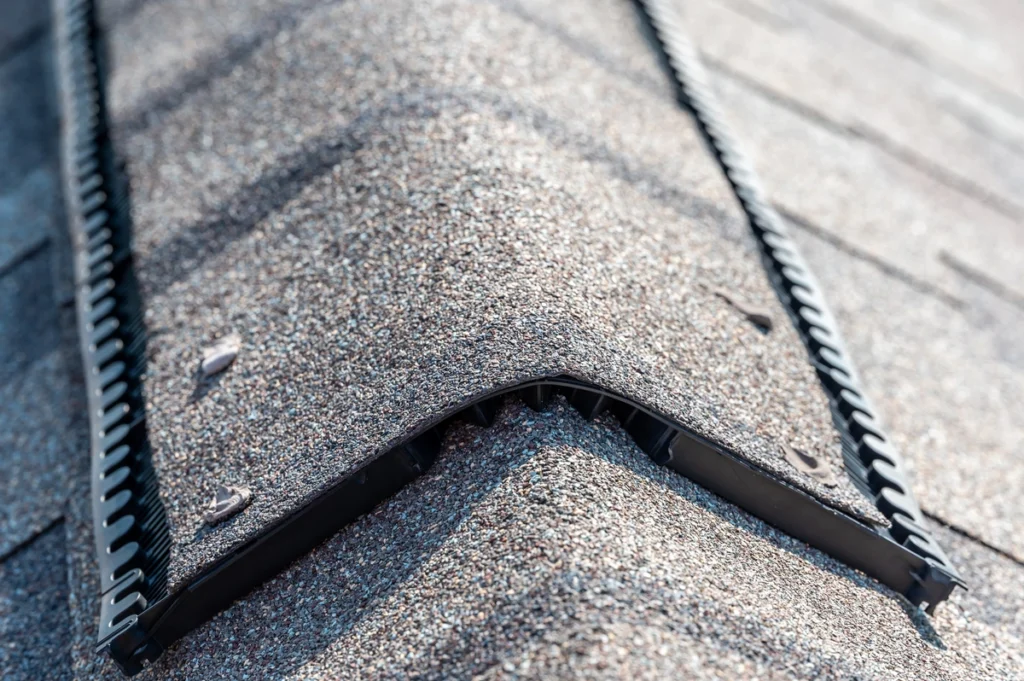
Ridge cap shingles aren’t just the “final piece” of your roof—they’re a critical component. They protect the peak of your roof from water, wind, and snow while giving it a polished, finished look. Designed specifically for durability along the roof’s most vulnerable areas, ridge cap shingles also enhance ventilation when paired with ridge vents, improving your home’s overall energy efficiency.
Without proper installation, your roof could be exposed to leaks and long-term structural damage, which no homeowner wants to deal with!
Tools and Materials You’ll Need
Before beginning, make sure you have everything you need. Here’s a quick checklist:
- Ridge cap shingles (precut or cut from 3-tab shingles)
- Roofing nails (1.5–2 inches)
- Nail gun or hammer
- Roofing adhesive (optional, for added security)
- Utility knife or shingle cutter
- Chalk line
- Ladder or scaffolding
- Safety equipment (harness, gloves, non-slip shoes)
✅ How to Install Ridge Cap Shingles in 7 Simple Steps
Installing ridge cap shingles doesn’t have to be daunting. Here’s a clear, step-by-step method to do it right:
1. Mark the Centerline
Begin by snapping a chalk line along the peak of the ridge to establish a clear centerline. This step ensures your shingles will be evenly aligned on both sides of the roof. An accurate centerline keeps the ridge cap looking neat and symmetrical, which is crucial for both aesthetics and functionality. Double-check the line to make sure it’s straight and visible before moving on to the next step.
2. Cut Ridge Cap Shingles if Necessary
If you don’t already have pre-cut ridge cap shingles, you’ll need to create them from standard shingles. Using a sharp utility knife, carefully cut the shingles into smaller pieces, approximately 12 inches wide. Take your time to ensure the cuts are clean and consistent. These newly cut ridge cap shingles will be easier to handle and lay properly across the ridge. To avoid waste, plan out how many pieces you’ll need beforehand.
3. Begin at the End of the Ridge
Start the installation at one end of the ridge. Place your first ridge cap shingle so that it slightly overhangs the edge of the roof by about 1/4 to 1/2 inch. This overhang helps direct water off the roof and prevents it from seeping under the shingles. Make sure the shingle is aligned with the centerline to maintain symmetry. Positioning the first shingle correctly is critical, as it sets the foundation for the rest of the ridge caps.
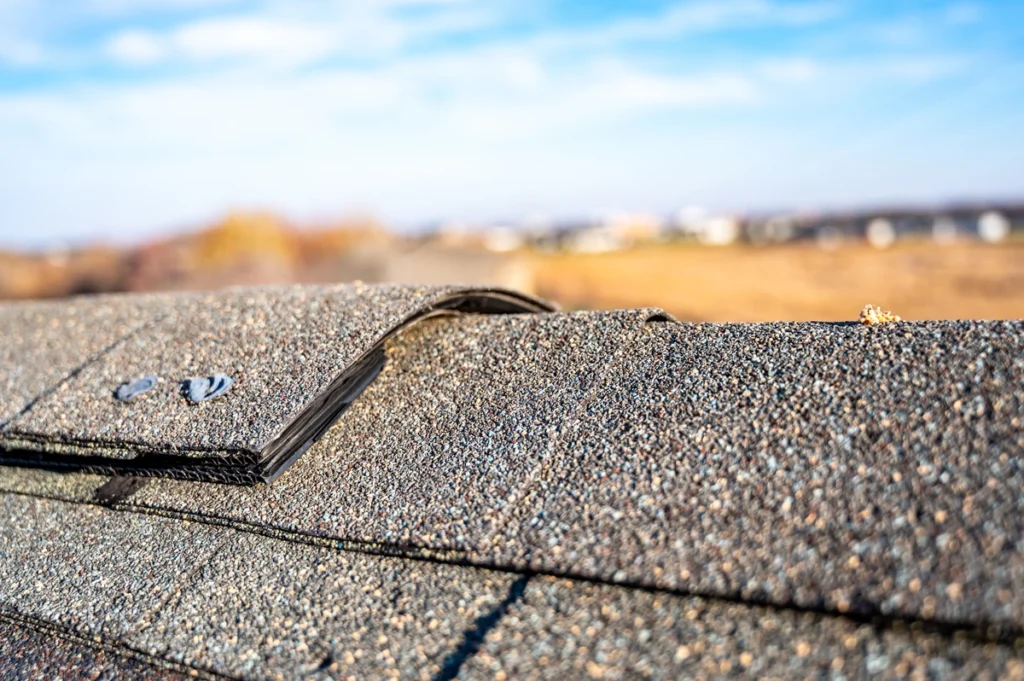
4. Secure Each Shingle
Once the first shingle is in place, fasten it securely using 2–3 roofing nails. Position the nails slightly off-center, ensuring they hold the shingle firmly in place without being visible once the next shingle is layered on top. Hammer the nails in straight and flush with the surface—don’t overdrive them, as this could damage the shingle or leave it loose. Double-check that the shingle is still aligned with the centerline after nailing.
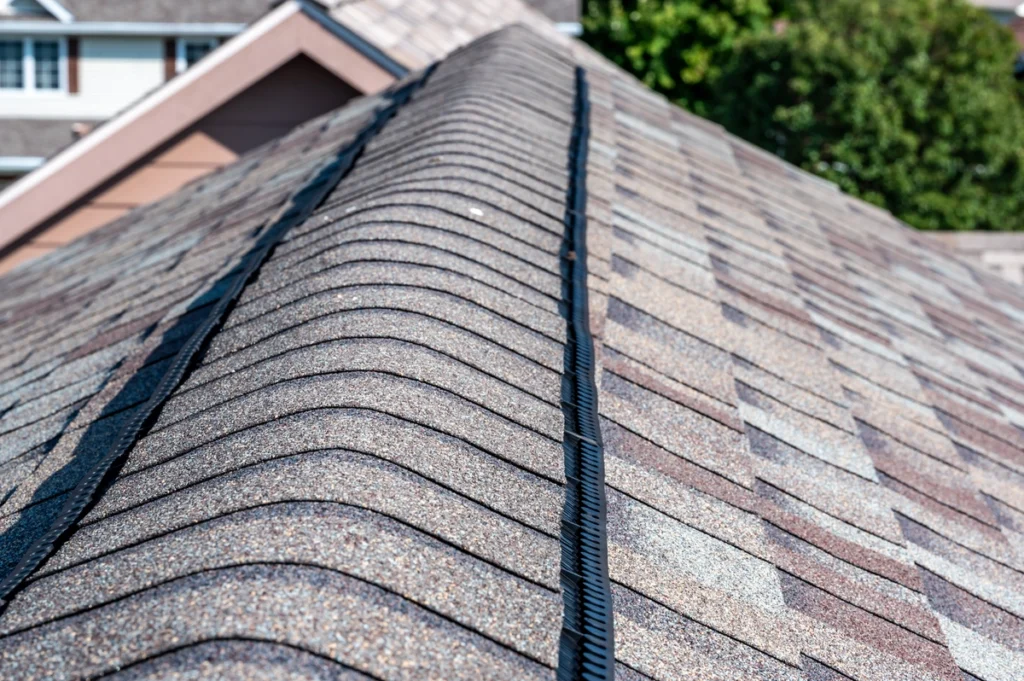
5. Overlap the Shingles
Continue laying shingles along the ridge, ensuring that each new shingle overlaps the previous one by 5–6 inches. This overlap is essential for proper water drainage and to create a seamless, professional appearance. Check the alignment of each shingle as you go to maintain a straight, even line across the ridge. Overlapping also helps protect the nails of the previous shingle, keeping them hidden and shielded from the elements.
6. Apply Adhesive if Needed
For added security, especially in areas prone to high winds or severe weather, apply a small bead of roofing adhesive underneath each shingle before nailing it down. The adhesive provides extra hold, reducing the risk of shingles lifting or shifting over time. Be sure to use the adhesive sparingly to avoid excess seepage. This step adds durability to your ridge cap and ensures it can withstand harsh conditions.
7. Finish with the Last Cap
When you reach the end of the ridge, trim the final shingle to match the edge of the roof. A clean, precise cut helps the ridge cap look polished and professional. Apply a generous amount of roofing adhesive under the last shingle to ensure it stays firmly in place. Press it down securely and double-check that it aligns neatly with the rest of the ridge caps. This final step completes the installation and provides a finished, weatherproof seal for your roof’s ridge.
👉 Common Mistakes to Avoid
Even with detailed instructions, mistakes can happen. Here are a few common pitfalls and how to avoid them:
Using the Wrong Shingles
Standard shingles are not designed to withstand the wear and tear that occurs on a roof ridge. They are more prone to damage and won’t last as long in that specific area. Instead, always use ridge cap-specific shingles, which are specially designed to handle the unique stresses of the ridge line and provide better protection against the elements.
Skipping Overlap
Proper overlap is crucial when installing shingles on your roof ridge. Without it, gaps can form, allowing water to seep through and compromise the integrity of your roof. This can lead to costly repairs down the line. Always ensure each shingle overlaps correctly to create a durable, watertight seal that can withstand weather conditions.
Exposed Nails
Exposed nails are a common mistake that can cause significant problems. When nails are not placed correctly, they can leave holes or weak spots, allowing moisture to penetrate the roof. This can result in water damage, rot, and even mold inside your home. Take your time to double-check nail placement and make sure they are covered properly to prevent exposure.
Ignoring Safety
Roof work can be extremely dangerous, especially if you are not comfortable with heights or lack the proper safety equipment. Falls and other accidents are common risks when working on a roof. Always prioritize your safety by wearing appropriate gear, using steady ladders, and ensuring you have a secure workspace. If you feel uneasy or unsure about taking on the task yourself, don’t hesitate to hire a professional to handle the job for you. Your safety is worth it.
🏠 Ridge Cap Shingles
Installing ridge cap shingles is a critical step in protecting your roof and ensuring its longevity. While it can be a rewarding DIY project, trusting professionals like our team at Kraft Roofing ensures the job is done with precision and care. With over 13 years of experience, a commitment to quality craftsmanship, and countless 5-star reviews, we’re the team homeowners in Texas rely on for all their roofing needs.
Whether you need expert repairs, a full replacement, or simply want peace of mind knowing your roof is in the best hands, we’ve got you covered. Contact us today for a free project estimate and let us protect your home with the care it deserves!
Recent Articles POSTS


Work With the Team That’s Dedicated to Your Wins
