


How to Install Ridge Cap Shingles – 7 Step DIY Roofing Guide
Thinking about tackling a roofing project? Installing ridge cap shingles is easier than you might think and an excellent DIY task for homeowners looking to save money and boost their home’s curb appeal. This guide will walk you through everything you need to know about how to install ridge cap shingles efficiently and securely on your roof, including:
- What are ridge cap shingles and why are they important?
- Tools and materials you’ll need for installation
- A 7-step DIY guide to install ridge cap shingles
- Tips for ensuring a long-lasting, professional finish
🤔 What Are Ridge Cap Shingles and Why Are They Important?
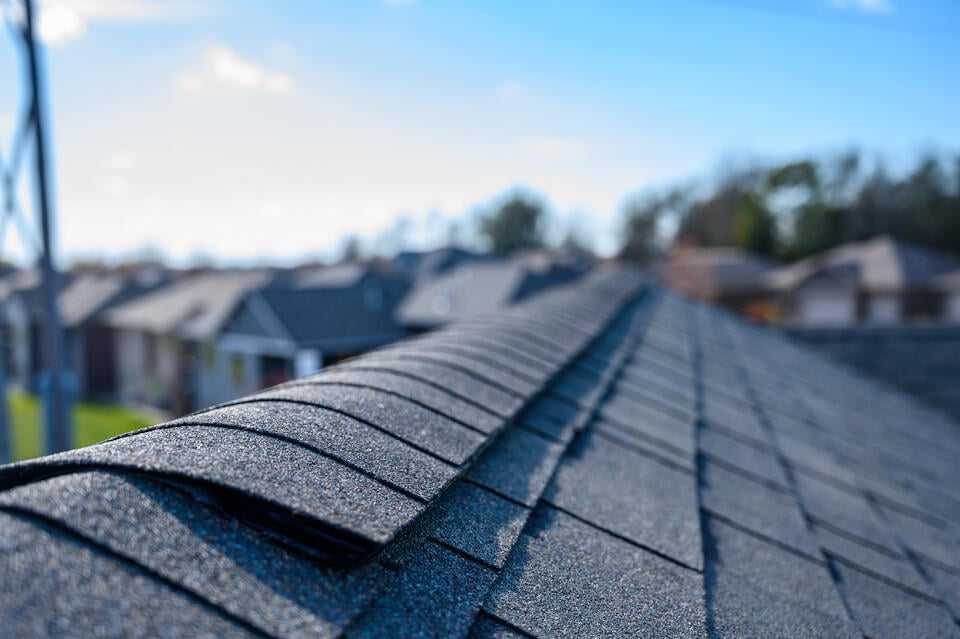
Ridge cap shingles are installed along the peak or “ridge” of a roof and serve two main purposes: protection and aesthetic appeal. They seal the roof’s peak to prevent water leaks and keep external elements like rain and snow from seeping into the home, offering essential protection. At the same time, they provide a finished, polished look that enhances the overall curb appeal of the house. Unlike standard shingles, ridge cap shingles are specifically designed to bend over the ridge without breaking, ensuring a proper fit and long-lasting durability.
Tools and Materials You’ll Need
Before you start your project, gather the following tools and materials:
- Ridge cap shingles (make sure they match your roof color and type)
- Roofing nails or screws
- Nail gun (optional but recommended for efficiency)
- Utility knife or shingle cutter
- Roofing sealant (for added protection)
- Chalk line
- Gloves and safety goggles
- Ladder with stabilizer or scaffolding
- Fall protection equipment (safety harness)
Having all these tools on hand will make your installation smoother and safer.
🛠️ 7-Step DIY Guide to Install Ridge Cap Shingles
Installing ridge cap shingles is essential for protecting your roof’s peak from water and weather damage. This guide will help you do it yourself, ensuring a durable and professional-looking finish.
1. Inspect the Roof Ridge
Before you begin, thoroughly inspect the roof ridge to ensure it is clean, dry, and free of any debris, such as leaves, dirt, or old roofing materials. A clean surface provides better adhesion and alignment for shingles and prevents future issues. Check for any damage to the existing roofing materials or the underlying structure, such as cracks, rot, or loose boards. Address these issues by replacing or reinforcing damaged areas before proceeding with the installation. Skipping this step could compromise the durability of your roof and lead to costly repairs later.
2. Mark Your Starting Line
Accurate alignment is key to achieving a professional-looking finish. Use a chalk line to mark the center of the ridge along its entire length. This line will act as your guide to keep the shingles straight and evenly spaced as you install them. Starting with a clear and precise guideline ensures that your installation stays on track, preventing the need for adjustments later. Take your time with this step—it’s a simple yet crucial way to ensure a polished final look.
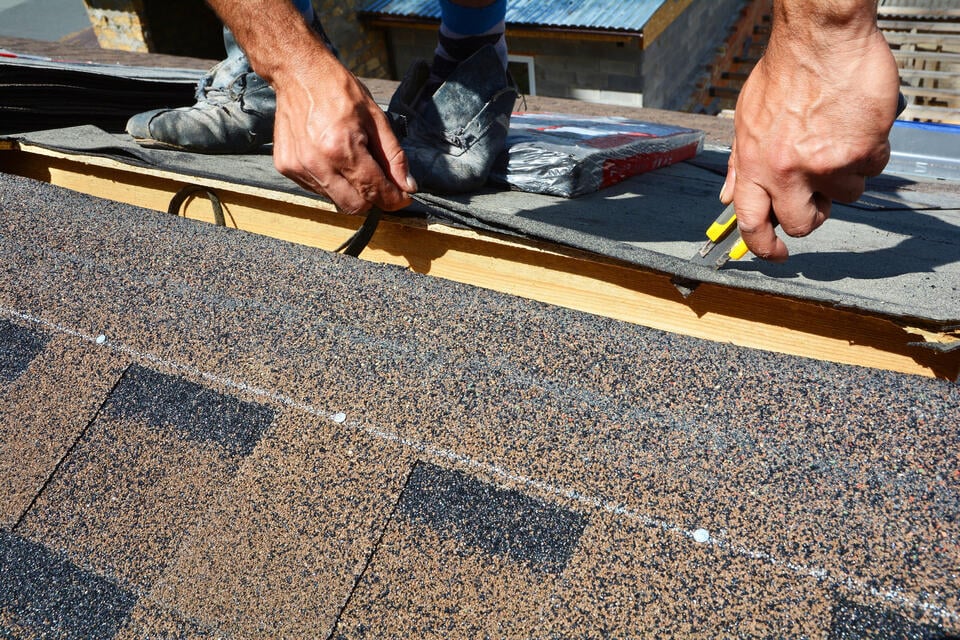
3. Cut the Ridge Cap Shingles
If you’re not using pre-cut ridge cap shingles, you’ll need to prepare standard shingles for this purpose. Take a utility knife or roofing scissors and cut the shingles into individual ridge cap pieces, each approximately 12 inches long. These pieces should be tapered or shaped to fit snugly over the ridge of the roof. Pre-cutting all the shingles before you begin installation will save time and ensure consistency. Always wear protective gloves during this step to avoid injuries from sharp edges or tools.
4. Place Your Starter Shingle
Begin installing at one end of the ridge, usually the end opposite the prevailing wind direction. This placement helps to provide extra resistance against wind lifting the shingles. Position the first ridge cap shingle so it slightly overhangs the roof ridge. This overhang directs water away from the roof rather than letting it seep underneath the shingles, which could cause leaks or damage. Take care to align the starter shingle with the chalk line to maintain a straight and clean start.
5. Secure the Shingles
Once your starter shingle is properly placed, secure it with roofing nails or screws. Ensure that the fasteners penetrate both sides of the ridge and anchor securely into the roofing structure. Using a nail gun can speed up the process and provide consistent pressure, but manual nailing works just as well. Position each nail where it will be covered by the next shingle layer to create a seamless, watertight appearance. Double-check that the starter shingle is firmly attached before proceeding.
6. Overlap Each Shingle
To create a watertight and visually appealing finish, overlap each ridge cap shingle with the one before it. Align the next shingle so it covers the nails or screws of the previous piece. This overlap not only hides the fasteners but also reinforces the roofing structure by layering protection against wind, rain, and other elements. Continue this process along the ridge, taking care to maintain consistent spacing and alignment. A uniform overlap ensures the ridge looks professional and performs effectively.
7. Seal the Final Shingle
When you reach the end of the ridge, the last shingle may need to be trimmed for a perfect fit. Measure and cut the piece carefully to avoid gaps or overhangs. Secure it in place using roofing nails or screws, just like the previous shingles. To provide extra protection against wind uplift or water penetration, apply a generous bead of roofing sealant along the edges of the final shingle. Smooth the sealant with a putty knife if necessary, ensuring it forms a tight seal. Allow the sealant to cure according to the manufacturer’s instructions for optimal performance.
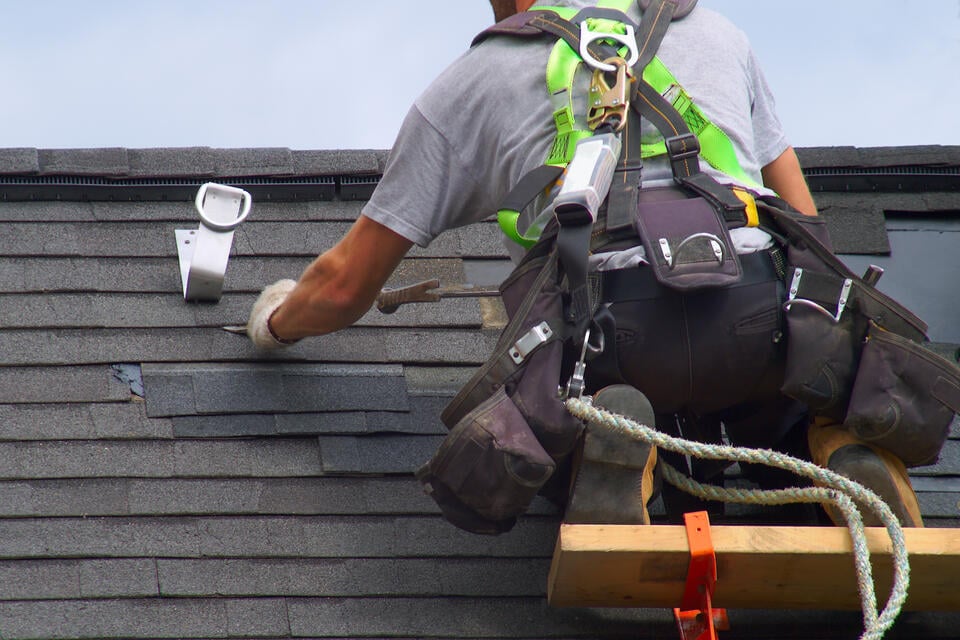
Bonus Tip:
If your roof has a steep pitch or is located at a height that feels unsafe to work on, take extra precautions. Enlist the help of a friend or family member to assist with handing up materials or stabilizing ladders. Using professional-grade fall protection, such as a safety harness or roof anchor, is highly recommended to reduce the risk of accidents. Remember, no DIY project is worth compromising your safety. Always prioritize secure footing and proper equipment when working at height.
💡 Tips for Ensuring a Professional Finish
Here are additional tips to ensure your ridge cap shingles last a long time:
- Choose Quality Materials: Invest in durable shingles designed for your climate.
- Mind the Weather: Avoid installing shingles on rainy or particularly windy days to ensure a secure fit.
- Inspect Your Work: Once done, double-check for any exposed nails or uneven spacing.
- Maintain Regularly: Check your ridge cap shingles during seasonal maintenance to catch wear and tear early.
🙌 Protect Your Home with Expert Roofing Solutions from Kraft Roofing
At Kraft Roofing, we understand the importance of a reliable and well-installed roof for the protection and longevity of your home. Our team of experienced professionals is committed to delivering exceptional roofing solutions that you can trust. With our attention to detail, quality materials, and expertise, we ensure that every step of the ridge cap shingle installation process is executed with precision and care. Ready to give your roof the care it deserves? Contact us today for a free consultation and let our experts help you with all your roofing needs. Don’t wait – secure the protection your home deserves with Kraft Roofing.
Recent Articles POSTS

Work With the Team That’s Dedicated to Your Wins
